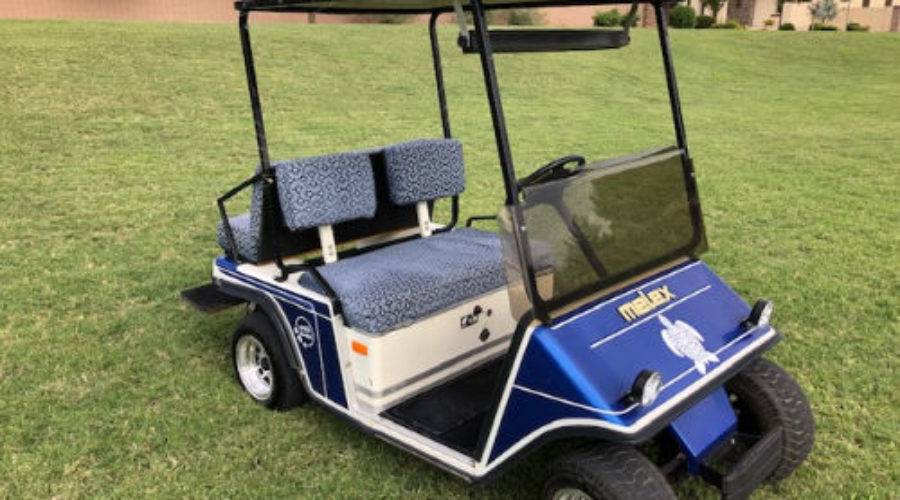
DIY Upholstery – Recovering Golf Cart Cushions
DIY Upholstery for Golf Cart Cushions

Recovering Golf Cart cushions isn’t as hard as reupholstering a couch, but it’s not a simple project because it requires sewing. Last week I told you that you shouldn’t pick DIY upholstery projects that require sewing. I’m also against DIY upholstery projects that require a perfect fit–that’s why I don’t suggest tackling a couch or upholstered arm chair. But these golf cart cushions were a good exception because I can show you the next step up in DIY upholstery without worrying about perfection.
Intermediate DIY Upholstery
I call this intermediate DIY upholstery because this type of cushion requires sewing box corners to look right.
When we bought this golf cart, the previous owner had tried to recover the cushions without sewing box ends. Here’s what it looked like and it’s not pretty. Not only are the folded over corners ugly, but the folded corners flattened the cushions making them look uneven.

I wasn’t afraid of recovering these cushions and creating new cushions (we wanted to create a back seat for the golf cart since we don’t golf but use it to drive around the neighborhood) because my DIY upholstery job couldn’t be any worse than what I started with.
This project had 5 cushions that needed new upholstery. If I had pulled apart the cushions, they would look like this:
 So, to determine how much fabric I needed for the upholstery I added 3″ seam allowance around all edges. I did this because these cushions weren’t 3 sided (front, back, and sides) but rather 2 sided (front and side) because the back (or bottom) of the cushion is stapled to a board that is then attached to the cart. I wanted plenty of extra fabric to allow me to pull the fabric over the board and staple it.
This is the cutting plan that resulted:

Step 1: Pin and sew the side pieces together, end to end (sew right sides together). I sewed one side, then lined it up against the cushion set to make sure that the side pieces went to the end of the cushion, but not passed it. Trim the sides before sewing where necessary.
Step 2: Pin and sew the side piece to the cushion top, one side at a time, turning at the corners. You will need to fit it like a box with an open bottom.
Step 3: Place the new upholstery over the foam cushion and staple it to the bottom.

If you’re covering all sides of a cushion, don’t forget to leave an end open to insert the foam. It’s always very challenging stuffing a foam cushion into your upholstery cover–another reason that I chose the golf cart cushion for DIY treatment rather than hiring an upholsterer.
As a hardcore DIYer I can completely understand the belief that everything can and should receive the DIY treatment, but recovering throw pillows is easy and recovering seat cushions is much harder. Just make sure that you’re okay with the less than perfect results. For this project I was okay with it looking a little messy–and it did.

Here are a couple of DIY projects that were pretty easy and we loved the results that you might want to check out:
Tub to Walk-In Shower Conversion.
Did you know that you get access to our huge Free Project Library just by signing up for our weekly newsletter? If you love to DIY with friends, then you should join us for our weekly Live Crafting in our Facebook Group. It’s a great way to get projects done.


