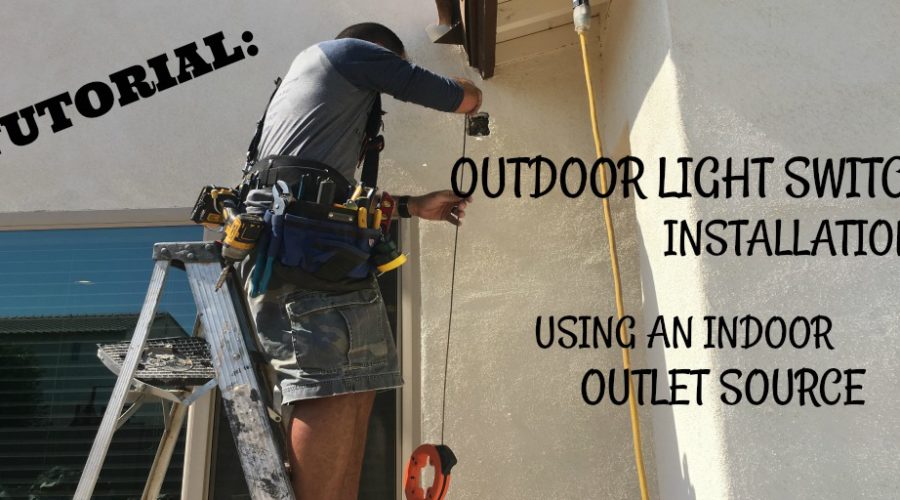
Tutorial Outdoor Light Switch Installation
Tutorial: How to Install an Outdoor Light Switch
Most homes have a very limited number of light switches and outlets on the outside. This can limit your outdoor lighting choices, making you feel like low-voltage lighting is your only option. That doesn’t have to be the case. You can install an outdoor light switch by accessing an interior outlet. Here’s how:

- Find an interior outlet that is on the same wall where you intend to install your light switch.
- Turn the power off by flipping the switch in the power box before starting any work.
- On the exterior, choose the placement of the switch—it should be directly above the interior outlet.
- Trace the switch box on the exterior wall where you will place your switch. Drill four holes into the exterior wall at each corner of the outline. If your exterior is stucco, use a hammer drill to drill holes all around the inside of your outline, pop out the stucco and cut the chicken wire. Don’t use a saws-all on stucco, because it will splinter your wall.
- Back inside the house, remove the outlet so you have access to the wires.
- Using a fish tape, fish the wire down through the wall starting at the switch location. Pull the wire through the outlet inside.
- Tape a length of electrical wire to the fish tape, pulling the fish tape until you have pulled the length of electrical wire through the wall from the switch to the outlet.
- Attach the wires using wire nuts.
- Replace the outlet and cover.
TOOLS USED FOR THIS PROJECT


